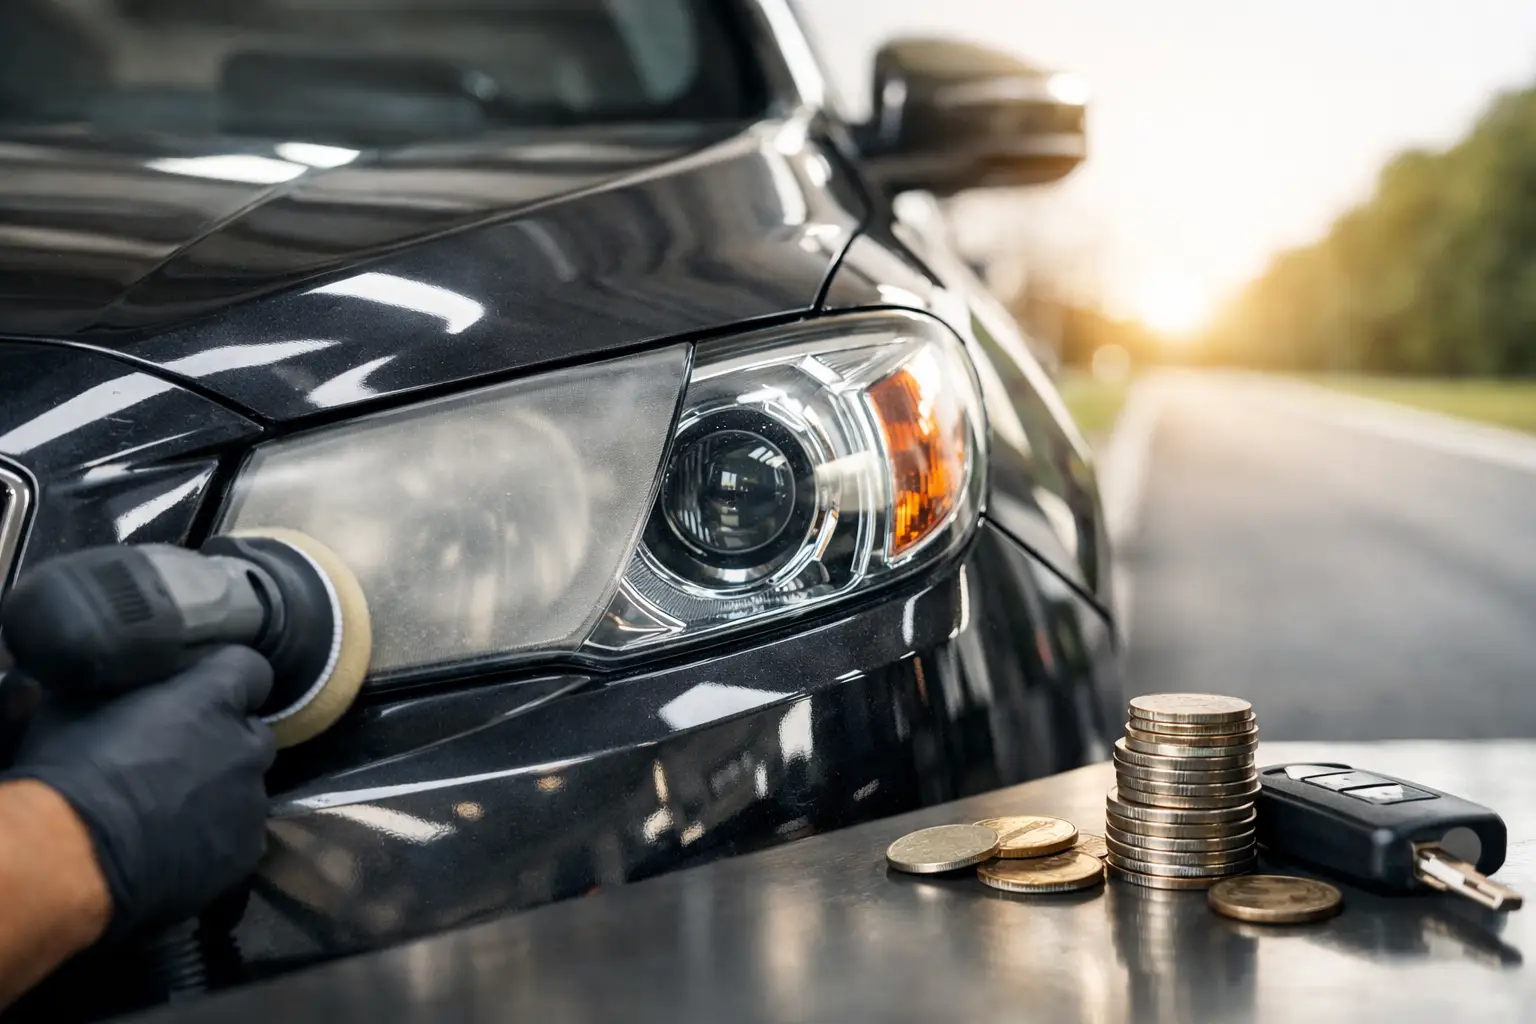
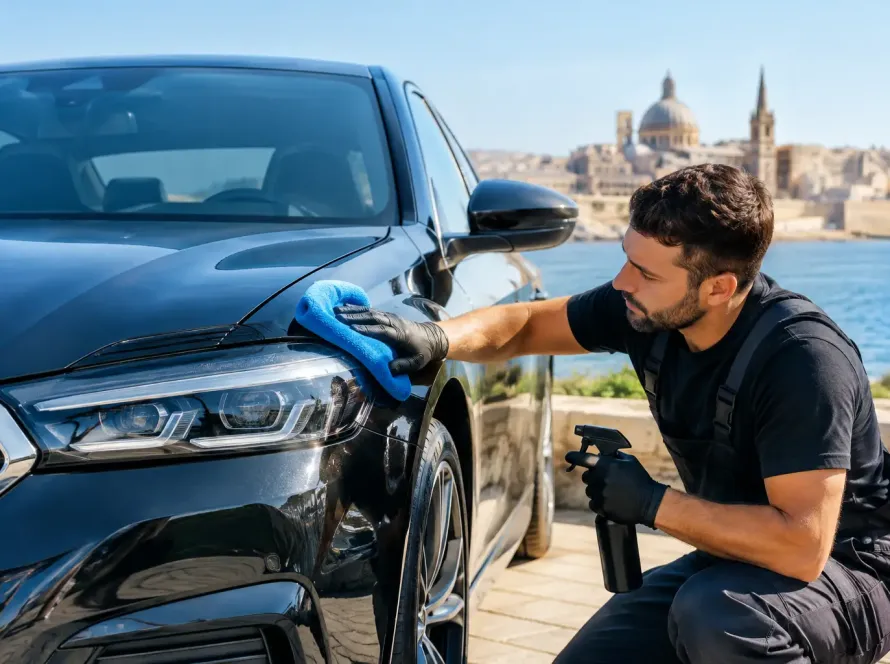
Cloudy headlights can make an otherwise immaculate vehicle look tired long before its time. More importantly, they reduce the amount of light reaching the road when driving after dark. Knowing how to restore headlights properly is not about a quick cosmetic improvement alone – it is about clearer visibility, a sharper front-end finish and protecting the value of your vehicle.
In Malta, intense UV exposure, heat, road dust and coastal air can accelerate headlight deterioration. The good news is that many dull, yellowed lenses can be corrected. The key is identifying the condition of the lens, choosing the right level of restoration and finishing with protection that will stand up to the elements.
Why headlights become cloudy
Most modern headlights are made from polycarbonate, a strong and lightweight plastic. While the lens is durable, its factory-applied UV coating gradually breaks down. Once that protective layer is compromised, sunlight oxidises the surface and leaves it looking yellow, hazy or uneven.
Road grime, washing with harsh chemicals and minor stone impacts can make the problem worse. What begins as a faint loss of clarity often develops into a visibly cloudy finish that scatters the headlight beam. You may notice that night driving feels less confident, even after replacing perfectly good bulbs.
Not every dull headlight has the same cause. Surface oxidation is usually repairable. Moisture trapped inside the unit, deep cracking, severe pitting or damage to the reflector may require a different solution, including repair or replacement of the headlight assembly.
How to restore headlights without cutting corners
A proper restoration follows a controlled correction process. The aim is to remove the damaged outer layer evenly, refine the lens back to optical clarity and seal it with a durable UV-resistant finish. Skipping the final protection stage is why many DIY restorations look impressive for a few weeks, then turn cloudy again.
Start with a proper inspection
Wash and dry the front of the vehicle first. This removes traffic film and reveals the true condition of the lens. Inspect it in direct light from several angles. Yellowing concentrated on the outside of the lens points to oxidation, while a milky appearance beneath the surface may indicate internal moisture or deterioration.
Feel the lens carefully. A rough, chalky texture suggests that sanding will be required. If the surface is only lightly hazed and still smooth, polishing may be enough. This assessment matters because aggressive sanding on a lightly affected lamp removes more material than necessary.
Before any correction work begins, mask the paintwork, trim and panel gaps around the headlight. Abrasives and polishing compounds can mark surrounding surfaces if they are allowed to contact them. Precision at this stage protects the finish you are trying to improve.
Remove the damaged layer evenly
For moderate to heavy oxidation, wet sanding is the most dependable route to a clear result. The process typically begins with a coarser abrasive to remove the failed coating, then progresses through finer grades to erase the sanding marks left by the previous stage.
Water keeps the surface lubricated, reduces heat and helps prevent abrasive particles from dragging across the lens. Use light, even pressure and work methodically rather than concentrating on one small patch. Uneven sanding can create distortion, low spots or a finish that looks clear from one angle but hazy from another.
The lens will appear dull while it is being sanded. That is expected. At this point, the objective is not shine – it is a uniform, refined surface with no remaining yellow patches or deep scratches. Trying to polish a lens before the oxidation has been fully removed only disguises the problem temporarily.
For mild fading, a controlled machine polish with a suitable compound may restore clarity without sanding. It depends on the depth of the damage. A professional assessment avoids unnecessary correction while ensuring the lens is not under-treated.
Polish back to clarity
Once the surface has been refined through the correct abrasive stages, polishing restores transparency and gloss. A quality compound removes the fine haze left by sanding, followed by a finishing polish that improves optical clarity.
This is where technique makes the difference between a basic improvement and a showroom-quality result. Too much heat can stress plastic. Too much product can clog the pad and reduce correction. Working in clean, measured passes allows the lens to clear evenly without compromising the material.
At the end of the polishing stage, inspect the headlight under strong lighting. Any remaining sanding marks, yellowing or cloudy sections should be addressed before applying protection. A coating will preserve the finish beneath it, including any defects that have been left behind.
Protect restored headlights from UV damage
The protective finish is the most important part of long-term headlight restoration. Polishing exposes fresh polycarbonate, but that fresh surface needs a barrier against UV radiation, weathering and contamination.
A dedicated UV headlight coating offers the strongest option when applied correctly. These coatings are designed to recreate a clear protective layer and can provide durable resistance against sun exposure. Ceramic-based protection can add hydrophobic properties and support easier cleaning, although it should not be treated as a substitute for a proper UV coating where one is needed.
Headlight protection film is another premium option, particularly for newer vehicles or freshly restored lenses. A quality film creates a physical barrier against stone chips and light abrasion while helping to preserve optical clarity. It is an excellent choice for owners who cover high motorway mileage or want an added layer of defence for a valued vehicle.
Wax, sealant and household sprays may add short-lived gloss, but they are not a reliable replacement for purpose-made UV protection. If the restoration has involved sanding, a temporary finish is likely to fail quickly under Malta’s sun.
Common mistakes that shorten the result
Headlight kits can be useful for very light oxidation, but results depend on preparation, patience and the quality of the protective stage. The most common mistake is relying on toothpaste, abrasive household cleaners or an all-in-one polish. These methods can create a short-term visual lift, yet they do not remove deeper oxidation evenly or provide meaningful UV defence.
Another mistake is using a single coarse sanding grade, then jumping straight to polish. Coarse scratches need to be refined progressively. If they are not, the lens may look acceptable in shade but appear scratched, dull or distorted under headlights and direct sun.
Avoid polishing dry, working in intense heat or leaving masking tape in place for too long. Heat increases the risk of uneven correction, while old tape can leave adhesive residue around the lamp. Equally, do not ignore condensation inside the headlight. External polishing cannot solve a failed seal or water ingress.
When professional headlight restoration is worth it
A careful enthusiast can restore lightly oxidised lenses at home. However, professional restoration is usually the better choice when the lens is heavily yellowed, the vehicle has premium LED or adaptive headlights, or the surrounding paintwork needs to remain flawless. These units are expensive, and a rushed repair can cause avoidable damage.
Professional detailing also brings consistency. The technician can assess whether correction is appropriate, select the least aggressive method, control each sanding and polishing stage, and apply a durable protective finish. This is particularly valuable when preparing a vehicle for sale, preserving a cherished performance car or bringing a daily driver back to a higher standard.
At GloboWax Malta, headlight restoration is approached as a precision service, not a fast cosmetic fix. The focus is on restoring clarity safely and pairing the result with protection suited to the vehicle’s use and exposure.
Keep your headlights clear for longer
After restoration, wash the lenses with pH-neutral car shampoo and a clean, soft wash mitt. Avoid harsh degreasers, aggressive brushes and solvent-based cleaners around the headlight area. Regular washing prevents traffic film and salt residue from sitting on the surface for extended periods.
Parking in shade or under cover when practical will reduce UV exposure, particularly during the hottest months. It will not eliminate ageing, but it can slow it. Inspect the lenses during routine washes so faint hazing can be treated early, before a more intensive correction becomes necessary.
Clear headlights change more than the look of a vehicle. They make night journeys feel more assured, give the front end a cleaner, newer appearance and show that the car has been cared for with the same attention you expect from every other detail. If the lenses are beginning to fade, restoring and protecting them now is a small decision that pays back every time the road gets dark.