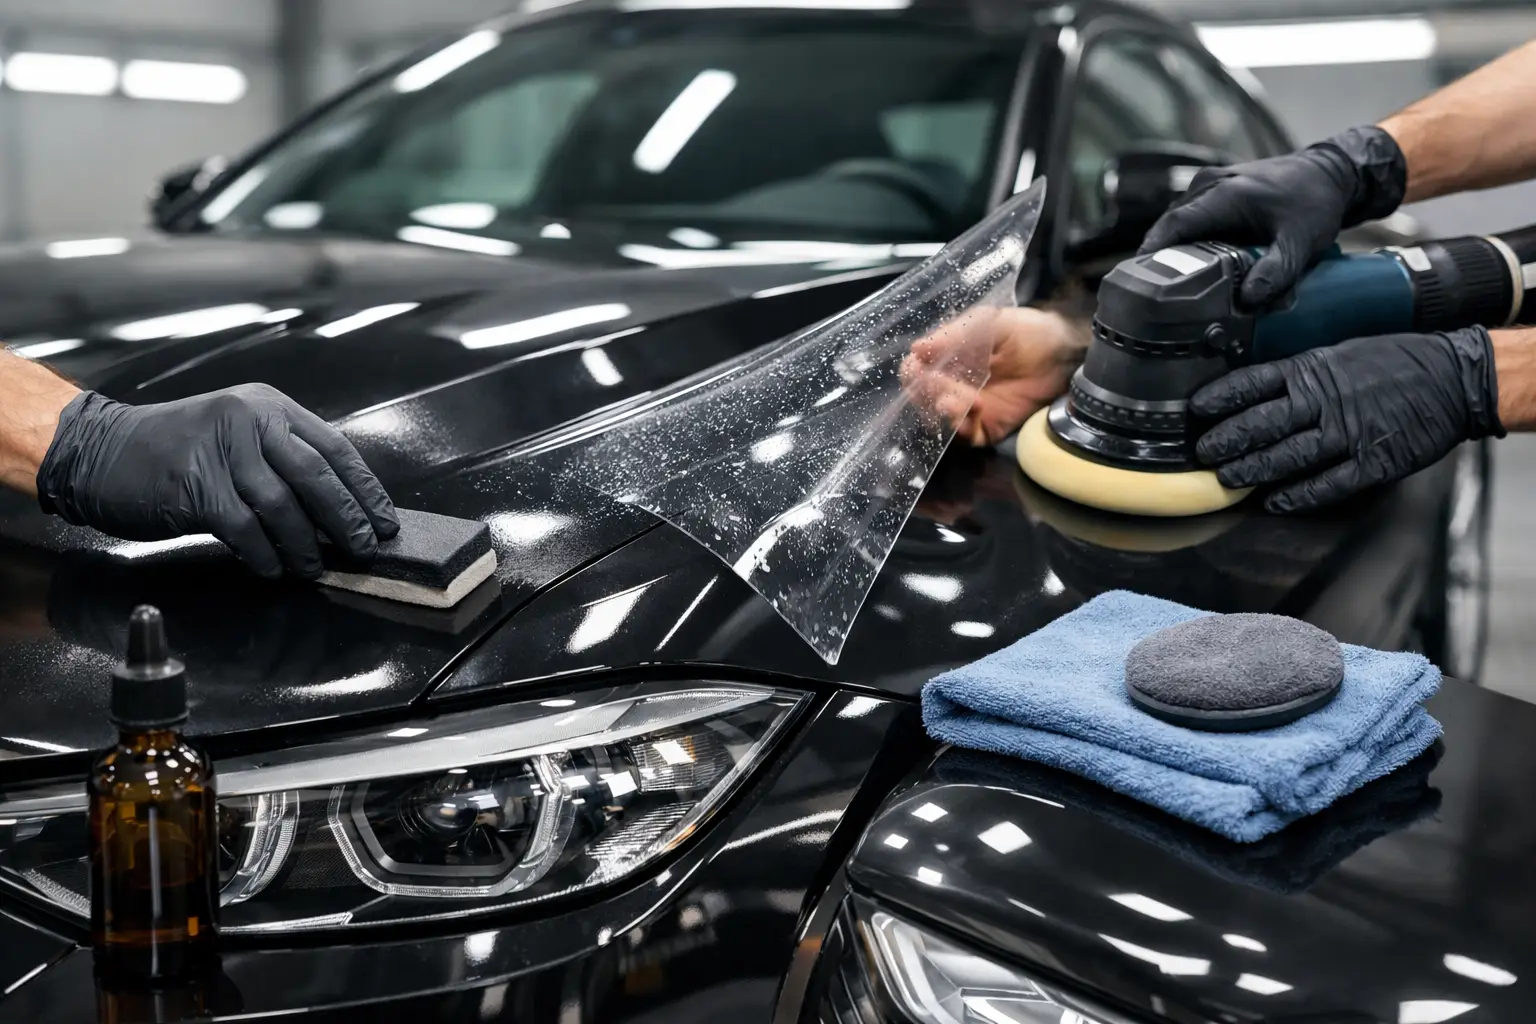
A ceramic coating can only perform as well as the surface beneath it. If the paint is carrying bonded contamination, polishing oils, light swirl marks or old protection, the coating will seal those flaws in place rather than hide them. That is why understanding how to prepare car for ceramic coating is the difference between a finish that looks merely glossy and one that delivers the crisp, deep, protected result owners expect from a premium treatment.
The mistake many people make is treating ceramic coating like a simple add-on after a wash. It is not. Coating is the final protective layer in a much bigger process, and preparation is where the real standard is set. When done properly, the paint feels cleaner, looks sharper and gives the coating the best possible bond.
Why preparation matters before ceramic coating
Ceramic coatings are designed to bond directly to clean, bare surfaces. Anything left on the paint – traffic film, tar, iron fallout, wax residue, polishing fillers or water spotting – can interfere with that bond. In practical terms, that can reduce durability, affect gloss and leave the finish looking less refined than it should.
Preparation also matters because ceramic coating does not correct paintwork. If the vehicle has wash marring, holograms, oxidation or scratches, those defects will still be visible after coating. In some cases they may appear even more obvious because the coating adds clarity and reflectivity. The better the paint before application, the better the final result.
How to prepare car for ceramic coating properly
The process starts well before any coating bottle is opened. A proper preparation routine usually includes deep cleaning, decontamination, paint inspection, correction where needed and final panel preparation. Skipping steps may save time on the day, but it usually costs finish quality and longevity later.
Start with a safe, thorough wash
The first stage is a proper contact-safe wash to remove loose dirt, road film and surface grime. This should never be rushed. If dirt is dragged across the paint during washing, fresh marring can be introduced before correction has even begun.
Begin with a pre-wash or snow foam to soften contamination and reduce the amount of dirt that needs to be touched by hand. Follow with a careful hand wash using quality wash media and clean rinse water. Pay close attention to lower panels, badges, mirror housings and tight shut lines, where dirt tends to collect.
This stage is about creating a genuinely clean starting point, not a quick cosmetic finish. Wheels, arches, trims and door shuts should also be cleaned properly, especially if the vehicle is being prepared to a premium standard.
Remove bonded contamination
Even after a good wash, paintwork can still hold contamination that you cannot always see clearly. Iron fallout, tar spots, industrial residue and embedded particles sit on or in the surface and leave it feeling rough. A coating should never be applied over this.
Chemical decontamination is usually the next step. Iron removers help dissolve ferrous contamination, while tar removers break down stubborn road residue. Depending on the vehicle’s use and age, this stage can make a dramatic difference. Cars that spend time near the coast, on busy roads or parked outdoors often carry more contamination than owners realise.
After chemical decontamination, a clay treatment may be needed to lift anything still bonded to the paint. This should be done with care. Claying is effective, but if used aggressively or on a poorly lubricated surface, it can create marring. On softer paints, this almost always means machine polishing will be needed afterwards.
Inspect the paint in the right light
Once the surface is clean and decontaminated, the true condition of the paint becomes much easier to assess. This is where proper lighting matters. Swirl marks, fine scratches, buffer trails, etched water spots and dull patches are often hidden in poor light and only become obvious under inspection lamps or direct sunlight.
This inspection stage determines how much correction is needed before coating. A newer vehicle may require only a light refinement polish. A daily driven car that has seen automatic washes may need more extensive correction. There is no one-size-fits-all answer here. The right preparation depends on the paint type, defect level and the finish the owner expects.
Paint correction before coating
If you want the coating to sit over a finish worthy of long-term protection, paint correction is usually the most valuable step in the whole process. This is where gloss, clarity and depth are truly developed.
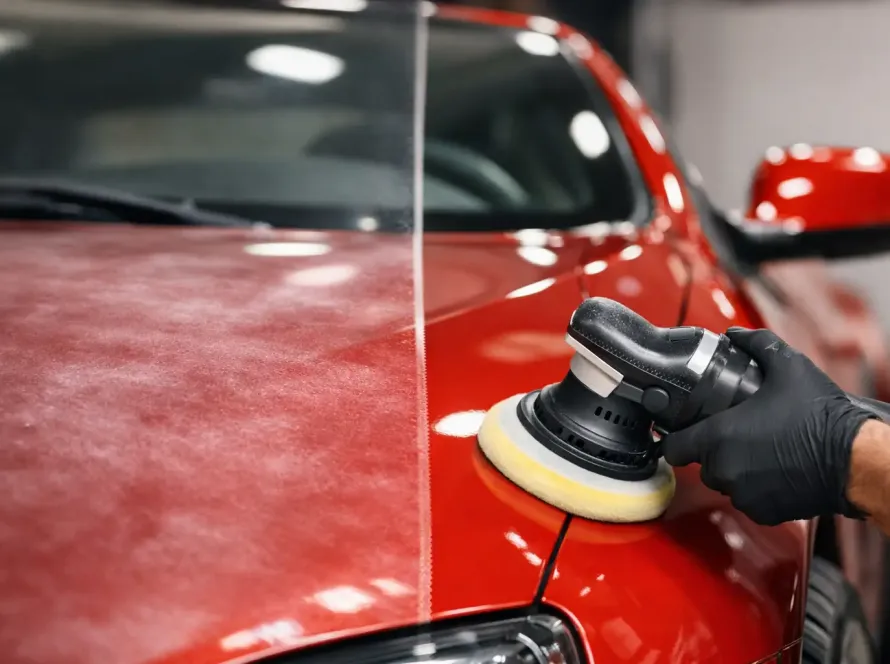
Machine polishing removes or reduces defects in the clear coat, improving the way light reflects off the paint. The result is not just more shine, but a cleaner, sharper finish. Darker colours benefit noticeably, but every paint colour gains from proper refinement.
How much correction is enough?
That depends on the vehicle and the owner’s priorities. Not every car needs a multi-stage correction, and not every owner is chasing concours-level perfection. A well-maintained car may only need a single-stage polish to lift gloss and remove lighter marring. A neglected finish with deeper defects may justify a more involved correction process.
The key is balance. Chasing every last mark can mean removing more clear coat than necessary, while doing too little can leave avoidable defects under a premium coating. A professional approach is always about measured improvement, not polishing for the sake of it.
Plastic trims, glass and other surfaces
Ceramic coating is not limited to painted panels. Depending on the product used, glass, trim, wheels and other exterior surfaces may also be coated. These areas need their own preparation as well.
Glass should be cleaned thoroughly and stripped of residue. Exterior trims need to be free from dressings and traffic film. Wheels should be decontaminated properly, especially around the barrels and faces. Each surface has its own needs, and using the wrong prep process can compromise adhesion or appearance.
The final panel wipe
After washing, decontamination and polishing, one more stage remains before coating application: final surface preparation. This is where any remaining polishing oils, fillers or residue are removed so that the coating can bond directly to the surface.
A proper panel wipe or surface prep solution is used for this stage. It leaves the paint clean, bare and ready for application. This part often gets underestimated, but it is critical. Paint can look flawless after polishing while still carrying residue that weakens the coating’s bond.
At this point, the vehicle should be kept indoors if possible, away from dust, moisture and direct contamination. Preparation is not only about cleaning the car once. It is about controlling the surface right up to the moment the coating goes on.
Common mistakes when preparing a car for ceramic coating
The biggest mistake is applying coating straight after a basic wash. Clean-looking paint is not necessarily properly prepared paint. Another common issue is leaving old waxes or sealants in place, which can prevent a true bond.
Rushing claying is another problem, especially on softer paint systems. That often adds fresh marring and creates more polishing work later. Using household cleaners, aggressive products or incorrect cloths can also cause damage just before the final stage.
Then there is the temptation to skip paint correction entirely. For some owners, that can be acceptable if the paint is already in strong condition and expectations are realistic. But if visible defects are present, coating alone will not deliver the transformed finish many people have in mind.
Is DIY preparation enough?
For enthusiasts with the right tools, lighting, products and patience, a decent level of preparation is possible at home. The challenge is consistency. The margin for error is smaller than many expect, especially when dealing with polishing, residue removal and paint inspection.
For premium vehicles, darker colours, softer paint systems or owners who want the best possible finish, professional preparation is often the smarter route. The coating gets most of the attention, but the real craftsmanship sits in the preparation work beforehand. That is where depth, clarity and durability are earned.
At GloboWax Malta, this is exactly why coating services are approached as a full paint preparation process rather than a simple surface add-on. The aim is not just to protect paint, but to elevate it first.
What the paint should feel and look like before coating
Before any ceramic coating is applied, the surface should feel completely smooth and appear optically clean under proper lighting. There should be no chalky residue, no smeared polish, no bonded contamination and no avoidable defects left behind. The paint should have a crisp, refined gloss even before the coating is introduced.
That is the standard worth aiming for. Ceramic coating is there to preserve excellence, not compensate for shortcuts. When preparation is handled properly, the finish does more than shine – it looks precise, protected and worthy of the vehicle beneath it.
If you are planning a ceramic coating, give the preparation stage the respect it deserves. The coating may be the protective layer people see on the invoice, but preparation is what they admire in the finish.